
How to install Ubuntu GUI & xRDP in Ubuntu 20.3.4 to connect using Remote Desktop Connection? (Solved)
Step 1: Using sudo apt-get install to Install LightDM
First, let’s install one of the most widely used display managers called LightDM using the following command:
sudo apt-get install lightdm
Similar to LightDM, there are many other options you can choose from, such as GDM, SDDM, LDM, and so on.
Your choice of a DM (display manager) should consider the resources that will be consumed by it, the flexibility in configuration that’s possible, and the extent of community support for issues and bug fixes.
Step 2: Starting the LightDM service
Once LightDM is installed on your system, you can run the following command to start the LightDM service to handle the display controls over to the window manager.
sudo systemctl start lightdm
Install Ubuntu Server GUI
Step 1: Install Tasksel
You have to choose whether to install GUI (graphical user interface) just using apt or apt-get or to use a more advanced tool called tasksel, enabling you to do the installation quicker by installing multiple packages in one coordinated process separate tasks. We’ll be using tasksel for the installation:
sudo apt-get install tasksel
And if you’re using apt instead of apt-get, you can use the following command:
sudo apt install tasksel
Step 2: Install Desktop Environment
Once tasksel manager is installed, you can go ahead with the installation of one of the many available desktop environments; in our case, we’ll install GNOME Desktop, which is the default environment for Ubuntu server, using the following command:
sudo tasksel install ubuntu-desktop
You can also run the following command and select the software to install from a predefined collection of software:
tasksel
When prompted, choose Ubuntu desktop to install the chosen desktop environment.
Use the space key to choose the desktop environment to be installed; hit the tab key to move the focus from the list of software to the OK button at the bottom, and hit enter.
If everything went right, doing this should trigger a reboot, and you will see a login screen generated by LightDM, our chosen display manager (desktop environment).
Alternatively, you can also run the following sudo apt-get command to install ubuntu-desktop without using tasksel:
sudo apt-get install ubuntu-desktop
You can use the aforementioned apt-get command for installing any of the popular desktop environments.
Step 3: Install multiple GUIs
Installing more than one GUI is straightforward to install more than one GUI on the Ubuntu server.
You can choose to switch between different GUIs by pressing the F1 key; doing that will toggle between GUI sessions. Apart from the GNOME, there are several other well-maintained GUIs that you can choose from, such as Xfce core server desktop, Xubuntu core server desktop, Lubuntu core server desktop, Cinnamon core server desktop, Budgie core server desktop, Mate core server desktop, KDE core server desktop, Kubuntu core server desktop, and so on.
Changing the GUI on Ubuntu doesn’t change the installation process by a lot if you’re using tasksel. For example, if you want to install Xubuntu GUI, you can do that using the following command:
sudo tasksel install xubuntu-desktop
Notice that this command is the same as the command you ran to install the GNOME desktop, except that you’re now installing Xubuntu-desktop instead of ubuntu-desktop.
Some of the similar commands to install different GUIs are listed below:
sudo tasksel install lubuntu core
sudo tasksel install ubuntu mate
Note that multiple GUIs are completely optional.
Step 4: Reboot
Once you’re done with the installation, you must reboot your system to pick up that the interface has changed.
reboot
If, however, your system doesn’t prompt a GUI and still returns you to the command-line interface for any reason, please run the following command to set the default interface on your system once and for all.
sudo systemctl set-default graphical.target
This command will ensure that your Ubuntu system defaults to the newly installed graphical target for the GUI.
Remote Access to GUI
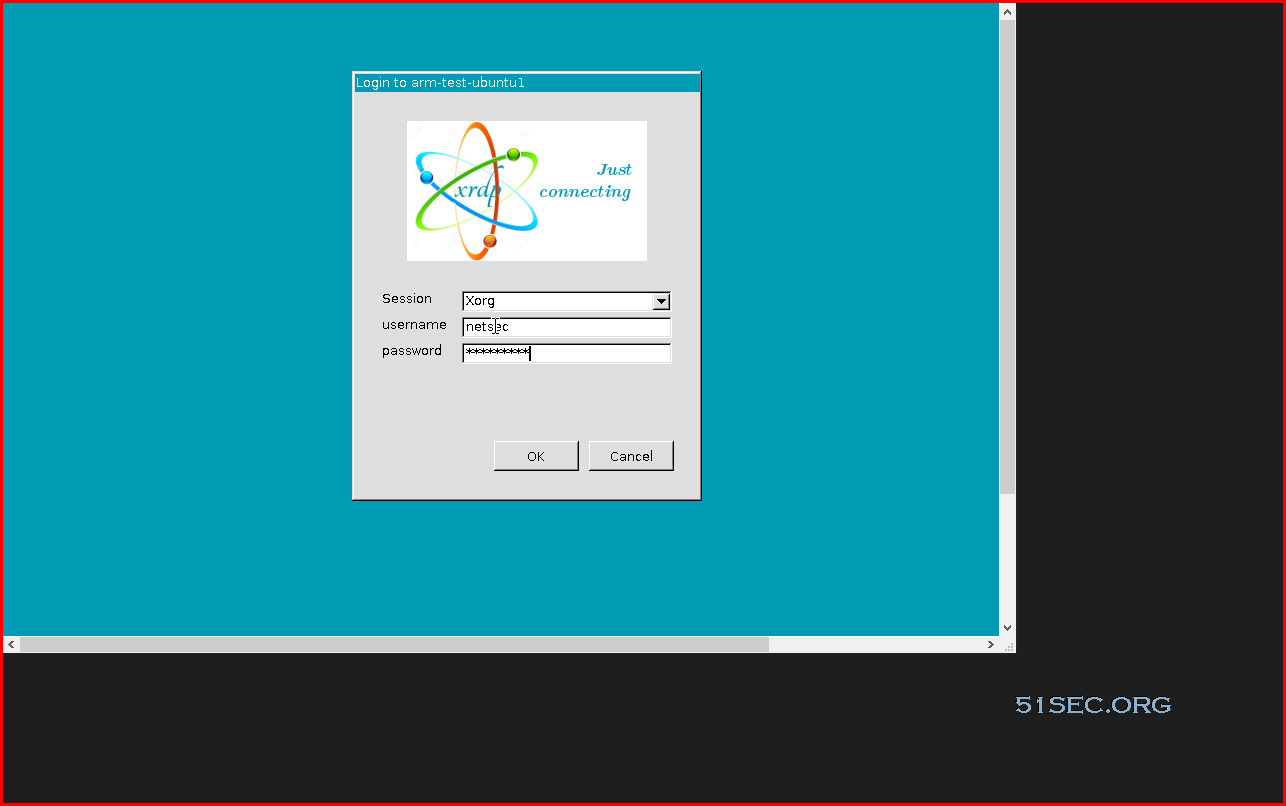
It’s an everyday use case to access your Ubuntu machine remotely. If you want to do that, you’ll need to install a remote desktop application like Xrdp. You can use the following command to do that:
sudo apt-get install xrdp
After installing the remote desktop application, you would need to add it to the ssl-cert group. You can do that by running the following command:
sudo adduser xrdp ssl-cert
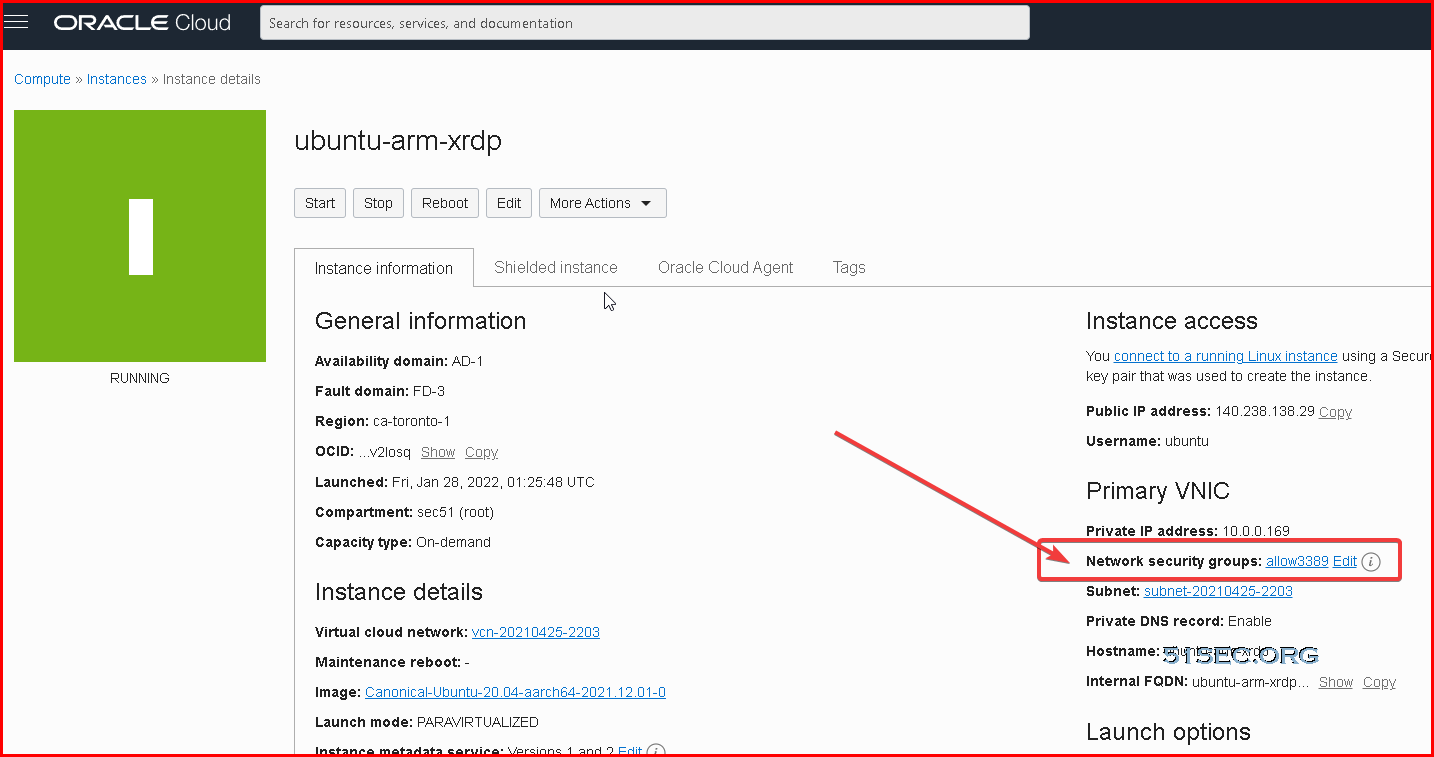
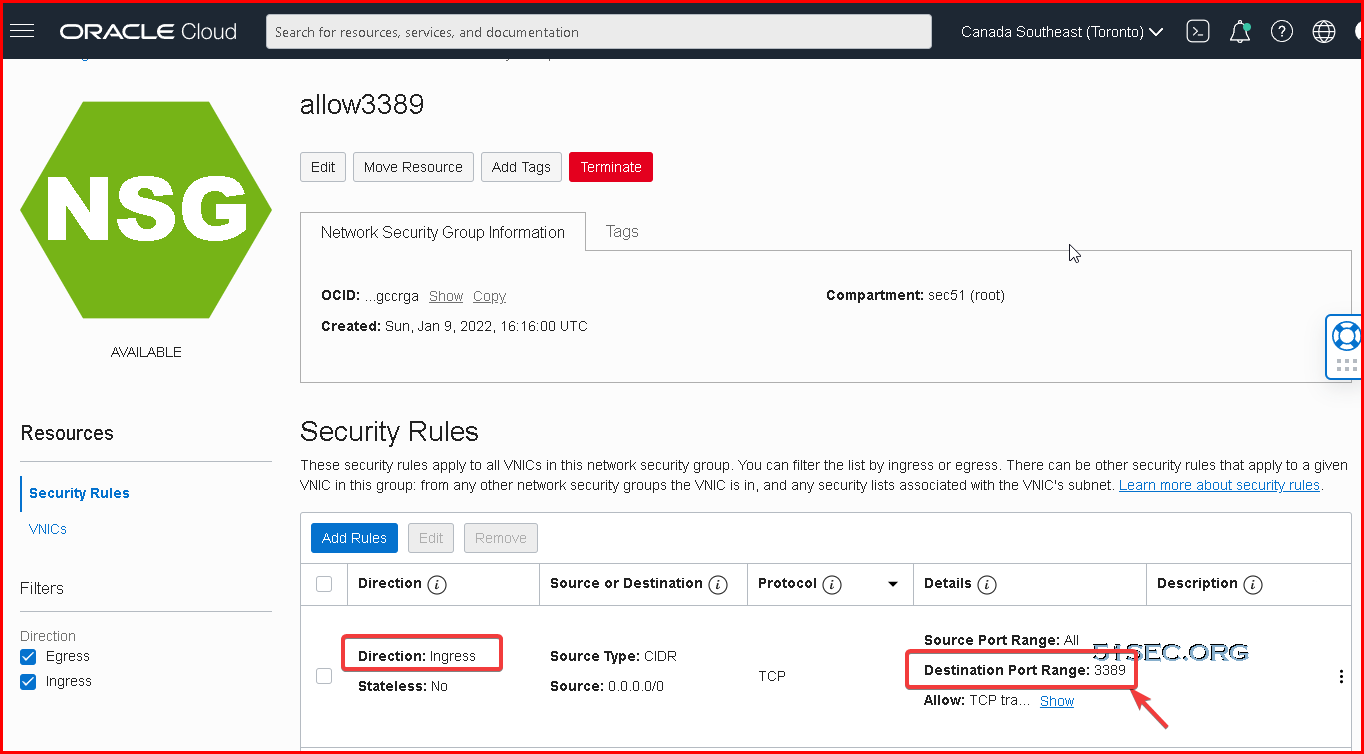
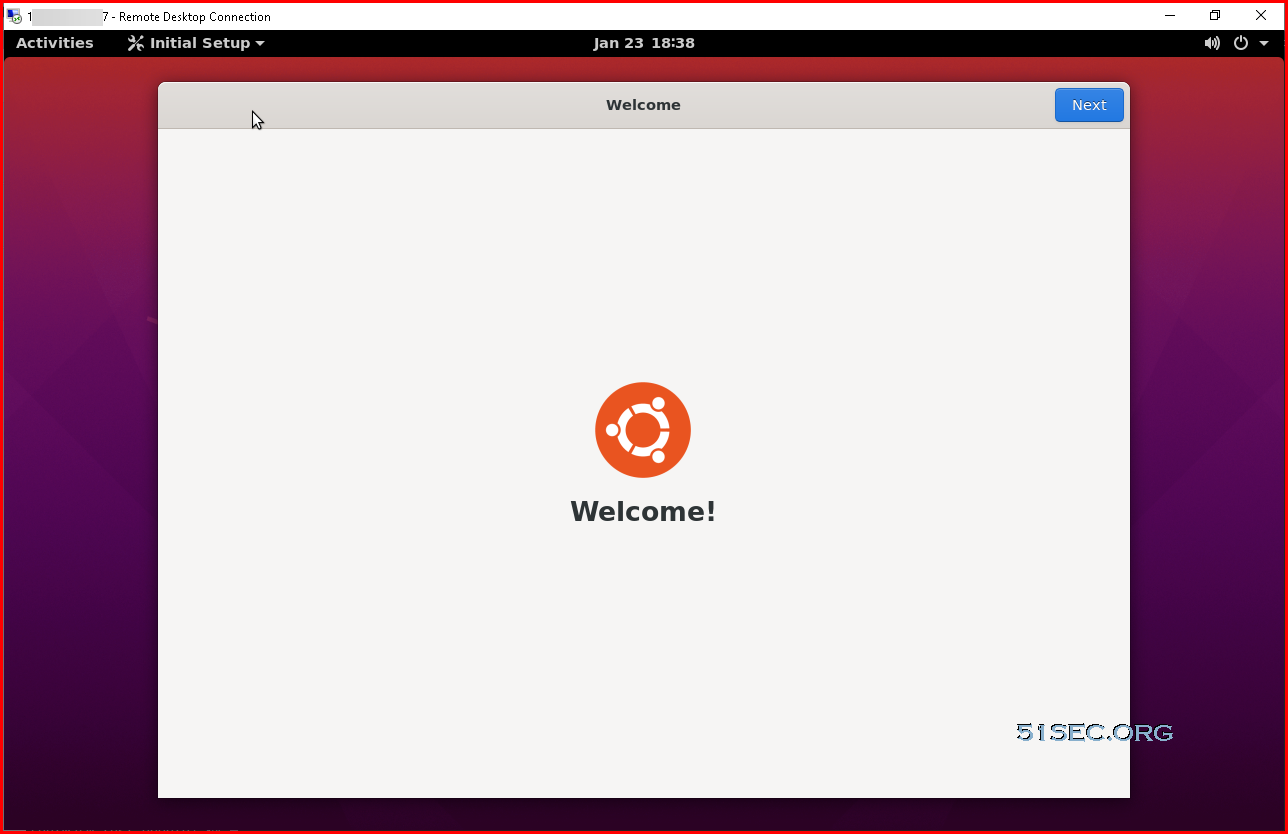
Now, you should be good to remotely connect to your freshly installed Ubuntu desktop with a GUI using port 3389.


